Guides › Build & sign an iOS app for TestFlight
Build & sign an iOS app for TestFlight
4 min read
iOS builds run on BuildStack’s managed Mac agents, so you don’t need a Mac of your own. You sign with an App Store Connect API key, with no certificates or provisioning profiles to manage; BuildStack creates and renews them automatically.
1. Add an App Store Connect API key
In App Store Connect, go to Users and Access → Integrations → Team Keys. Copy the Issuer ID, generate a key with App Manager access, and download its .p8 (it downloads only once). In your project’s Credentials tab, enter the Issuer ID and Key ID and upload the .p8. It is sealed at rest and never printed.
2. Start an iOS build
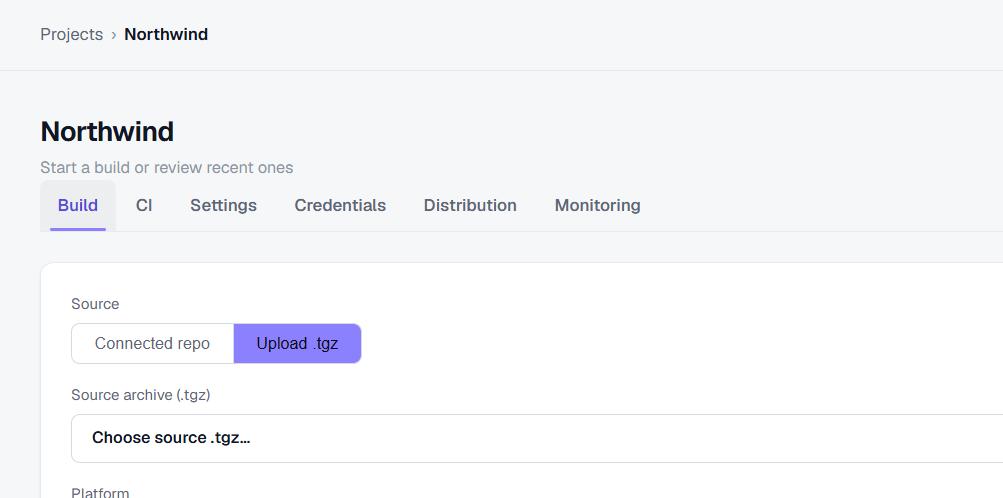
On the Build tab pick iOS, set the scheme (for an Expo app this is the app name without spaces), the configuration, and an export method. Expo projects are prebuilt and CocoaPods is installed automatically, then a Mac agent archives and signs a release IPA.
3. Ship to TestFlight
Set the submit target to TestFlight (or App Store review) and the signed build is delivered to App Store Connect for you, with no Transporter or Xcode. Or grab the signed IPA and scan-to-install link from the build page.
Cloud builds, managed signing and one-call Play publishing for Expo & React Native.
Start free